Friday, August 20, 2010

Casa Hagg is pleased to announce

our newest family addition....


YAY!! She arrived  Tuesday  afternoon and although it was touch & go there for awhile, (installation horrors) she is now up & running & doing us proud :)

( I obviously still need to paint behind where the previous stove had a higher backsplash)

Her first special job was to bake off some chocolate chip cookies, but due to the length of her arrival,  I had to hold the dough overnight & just make our planned dinner, chicken parmesan.


Ok, so this was not THE chicken parm that I made Tuesday night, ( same recipe, however) this is a picture from the birthday dinner that I made for Scott's 40th 'space themed' party ( he was born 10 days after man first walked on the moon. Had he arrived those measly 10 days earlier, he could have gone to space camp for free.)

He has talked about this for his whole life, so we threw him a space party.

Here is the cake that Ali baked & decorated for him


Anyway.... I will post my chicken parm recipe soon, with photos as it is definitely a favorite here :)

I baked the cookies the next day & they came out perfect.

Basic chocolate chip cookies :

1 cup unsalted butter, room temperature
1 cup granulated sugar
1 cup brown sugar (packed)
2 large eggs at room temperature
1 teaspoon vanilla extract
1/2 cup oats
2 1/4 cup all-purpose flour
1 teaspoon baking powder
1 teaspoon baking soda
1/2 teaspoon salt

preheat oven to 350


Line  cookie sheets with parchment paper and set aside.
Finely chop the oats in a food processor. Mix in the flour, baking powder, baking soda, and salt.
Using an electric mixer, beat the butter and sugars in a large bowl until fluffy. Scrape down sides of mixing bowl. Beat in the eggs and vanilla extract. Add the flour mixture in 3 parts and stir just until blended. Stir in the chocolate chips.
For each cookie, drop 1 rounded tablespoonful of dough onto the prepared baking sheets, spacing 1-inch apart. Bake until the cookies are golden , about 13 minutes. Cool the cookies on the baking sheets for 5 minutes. Transfer to a cooling rack and cool completely.


They baked beautifully!


Here is a picture of my sister, Jodie eating one right out out the oven


and lastly, one of my favorite variations of this recipe


I'm off to clean out the fridge... tomorrow's CSA day!!


oxoxo
~shel

Sunday, August 15, 2010

Summer. In a bowl :)

I know that I have declared my love of tomatoes before, so just bear with me while I do it again.

and again.

and again.

This week at Plato's Harvest Organic Farm


our share  had 10  pounds of tomatoes!! 10 pounds.. this is NOT a typo :) this is in addition to the pick your own varieties of salsa & cherry tomatoes :)


did I mention that  just LOVE tomatoes?


We also got to pick more string beans


I pondered over what to make for dinner last night, then it hit me like a brick.... I just HAD to make

Fresh tomato sauce


**** you need to use good quality, fresh tomatoes... all of the flavor in this recipe is based on simple, flavorful ingredients....  if you don't have them growing in your yard, find a
Local Farmer's Market
You'll be supporting your local farms & farmers & I PROMISE you you will have the best tasting pasta dish on your table tonight*****


I used 3, maybe 4 tomatoes
2 garlic cloves
4 scallions
a healthy grating of parmesan
A few tablespoons of extra virgin olive oil
a handful of basil leaves


Put it all in my food processor & pulsed it a few times so that it blended but didn't puree

season with salt & pepper

and Presto!


I like to add the cubed mozzarella right at the end on top of the pasta, but that's just me, feel free to mix it all in if you please :)

This could not have been simpler or more delicious.

I made a batch of fresh pasta to go along with this. That's a WHOLE other story... but one I will get to, I promise


 Since Ryan doesn't really like tomatoes ( gasp) I also made a simple white sauce with parmesan for him. I put a little bit of the white sauce on my pasta with the tomato sauce.


This was heavenly. So much in fact, that I just had leftovers for breakfast :)

Tuesday, August 10, 2010

Panzanella salad

Let's start with what we received from this weeks's share of our CSA from Plato's Harvest Organic Farm.

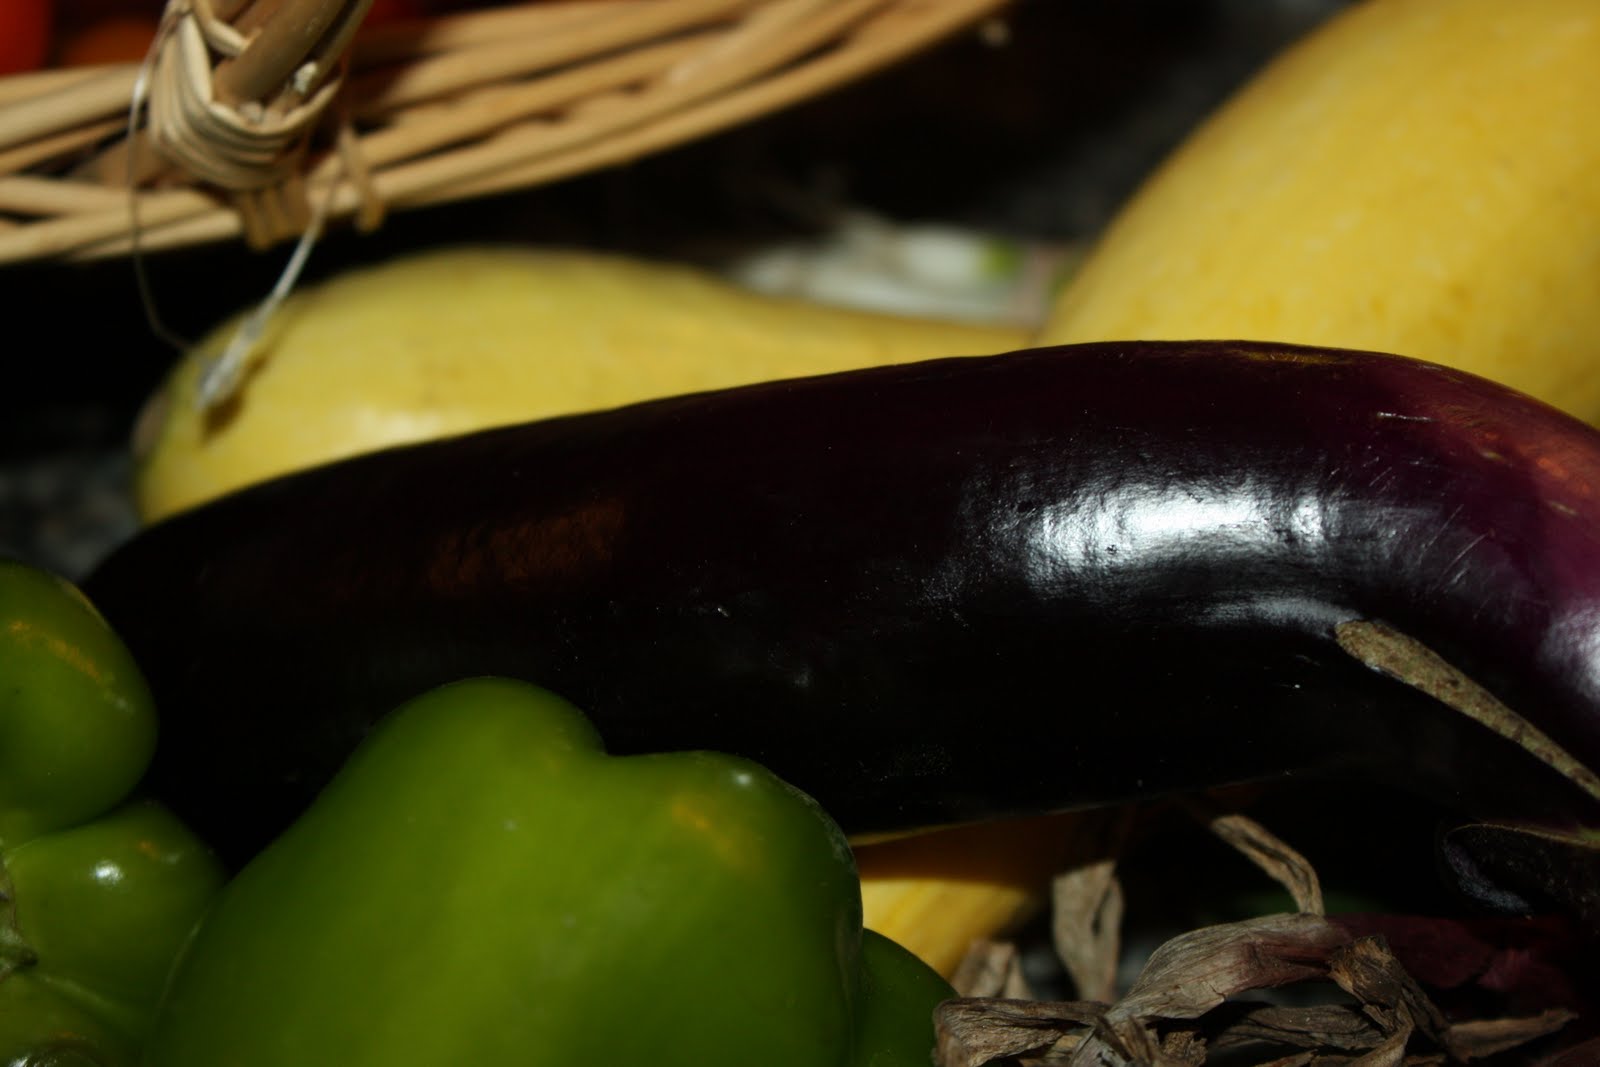
new this week were green peppers, scallions & asian eggplant


AND.. we were able to pick the gladiola!!!


oops.... here they are..


and in our bread share??? Stuffed garlic bread!! OH. Yeah.


And now, my favorite recipe of the week~

Panzanella.

 Funny word, eh?  When I first heard this I conjured up visions of brightly colored flamingo dancers. ( I have a wild imagination)

Panzanella is an Italian bread salad.  What, bread, in a salad? Oh, yeah. Trust me. 

I based my recipe on Ina Garten's Panzanella, but I did make changes, basically because I was trying to work with what I had.


I started by cubing the bread (day -old bread.. if you don't have any, you can buy day old bread usually for half price in the bakery section of your grocery store~ use something rustic :)) & sautéing in in olive oil over medium heat...(don't be afraid to add more olive oil while sautéing, you want the cubes to develop a crust)  seasoning with salt & pepper. Let cool.


There are many recipes out there, and not all of them have you saute the bread, but I find that the little scrumdilicious crust that it makes helps keep the bread form getting soggy.


In a large bowl, I added

a pint of assorted cherry tomatoes, halved
a few cucumbers, cubed
a red onion, cubed
1/2 yellow onion, diced
1/2 of a jalapeno, diced  ( I made this last week, prior to bell peppers, if you don;t like the bit on heat, feel free to omit)
I seasoned this all with salt & pepper

what's great about Panzanella is that you really could add whatever veggies ( that you would eat raw) that you happened to have on hand :)

I made a dressing of :

1 small garlic clove, minced
1/2 teaspoon dijon mustard
3 tablespoons white balsamic vinegar
1 tablespoon honey
1/2 cup Extra-Virgin Olive oil
Kosher salt & Freshly ground pepper


you can make this in a bowl by mixing everything except for the olive oil together then slowly stream the olive oil in, whisking vigorously..


You can put all of the ingredients in a blender & whirl away..

or if you happen to have an immersion blender with one of those little mini food processor thingys.. well that works just perfectly.

this is an amazing little invention. Clearly on of my favorite kitchen gadgets.

salad dressing yumminess!
what I especially love is that I usually tend to not use all of the dressing in a recipe, (calorie-counitng & all) ~ so I just pop the top on & save it in the fridge right in it's own container :)

Ok...back to the salad...

You can also make this dish ahead of time, keeping the dressing, the veggies & the bread separate until about 1/2 hour before serving.

at which time, simply toss them all together,( I use half of the dressing to start, then add more as needed) add a few tablespoons of capers, and some shredded basil leaves & a grating of lemon zest.

Let sit for about 30 minutes..


Now because I am a cheese NUT, I crumbled some ricotta salata over top. You could really add whatever cheese that you'd like, feta, goat cheese, even cheddar. Or, you could just omit it.

I LOVED this dish. I served it with grilled steak tips and it went so well together. My only complaint about it was that went I went up for seconds, it was all gone :(

Lucky for me, I just *happen* to have all of the ingredients on hand to make it again today :)

enjoy!
xoxoxo


Friday, August 6, 2010

Caprese Towers

This is what received last week from our share at Plato's Harvest Organic Farm


Our basket is filled with tomatoes...  ahhh.....tomatoes.... my VERY favorite!!

 *squeal*

 look at these babies!!!

not to be under shadowed by the awesomeness that is the tomato... we also received some

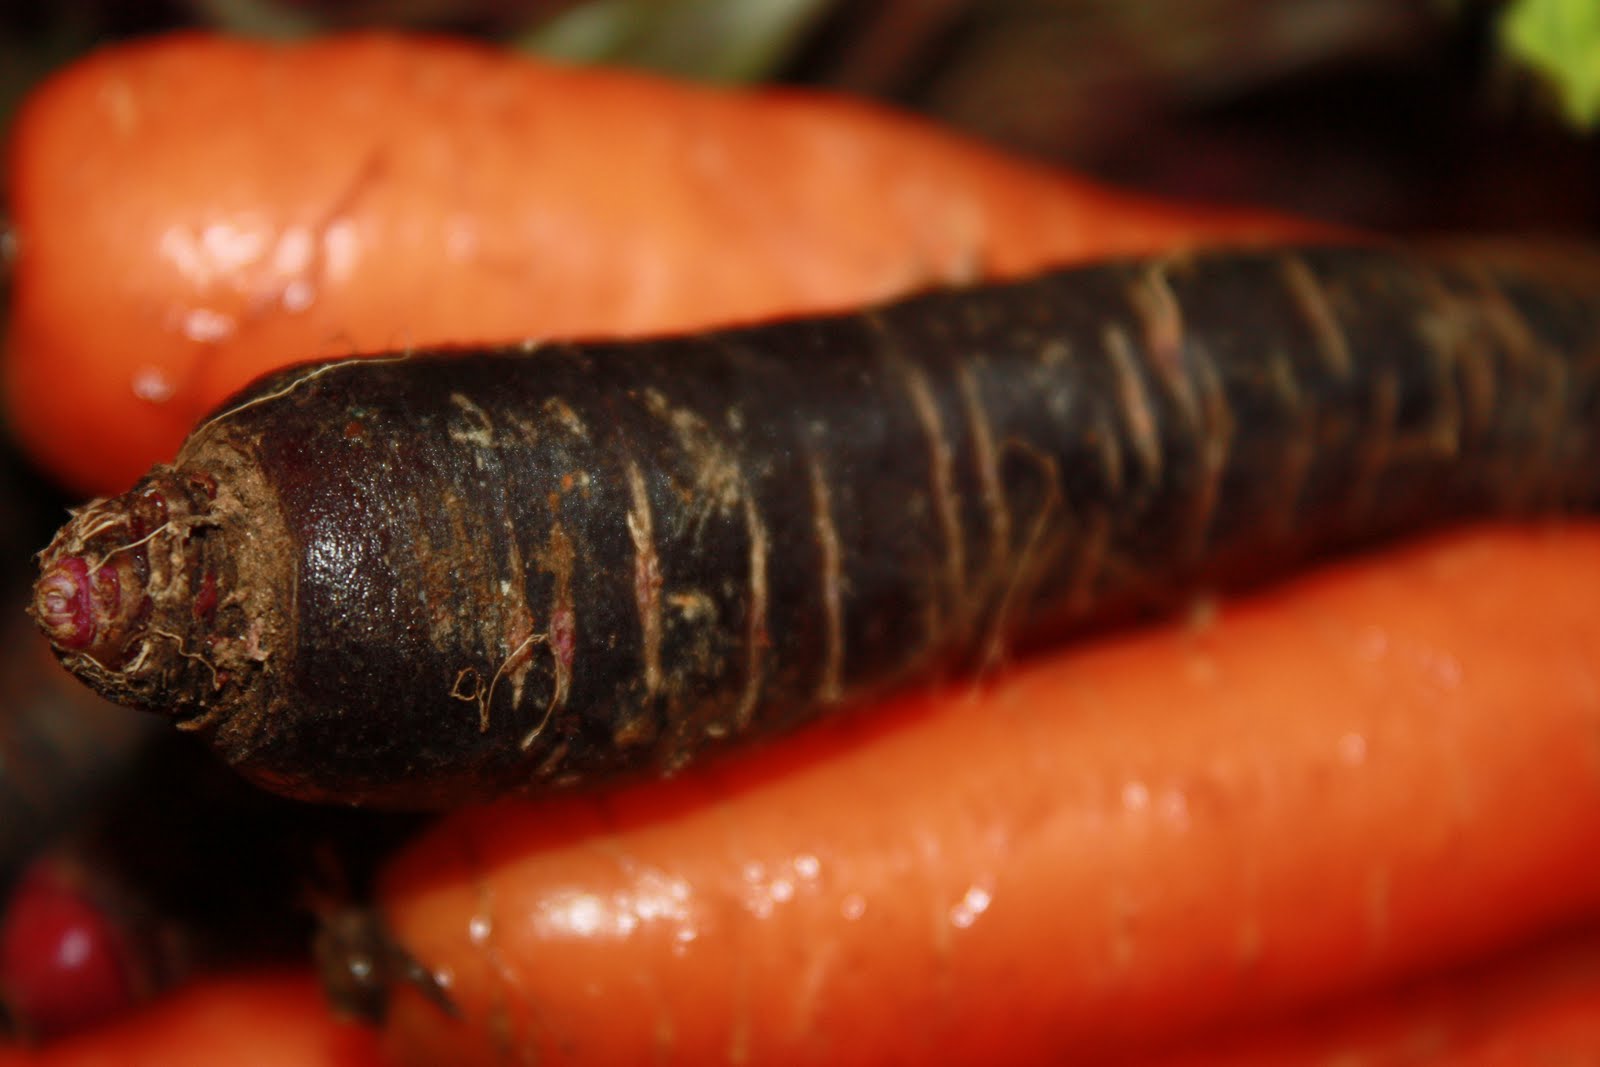
purple carrots!


Before the recipe I'd like to share a story...


I loved to 'play' with food since I was a little girl. When I was about 4 or 5, my grandfather had made a make- shift stove for me in my grandparents' back yard out of some tree stumps & plywood.

How is wish that I had a picture of that now...


My grandmother gave me some of her old pots & pans & wooden spoons. While my sister & her friends were playing normal kid things, I was mixing sticks & stones in my 'kitchen'.


My grandparents has a backyard veggie garden. I remember one day thinking that it would be a great idea to pick ALL of their ripe tomatoes & try to make them into a sauce in my beach pail.

 NOT such a good idea..

 I'm sure that they were furious with me, but what I remember most about that day was sitting in the corner of their garage ( trying to stay out of view, I'm sure) trying, trying, trying to mix those tomatoes into sauce..


here is a picture of my sister, my aunt & I in front of the garage where I 'created' my first sauce. The garden is off to the right.

I'm the one in pink :) some things never change...

Thank you for letting me share this.


now back to our regularly scheduled recipe..

I think that I (as I'm sure many) am SO excited about tomatoes due to the fact that last years' crop was basically wiped out ( at least in the Northeast) by blight.

But this year.. they are amazing!

I made Caprese towers :)


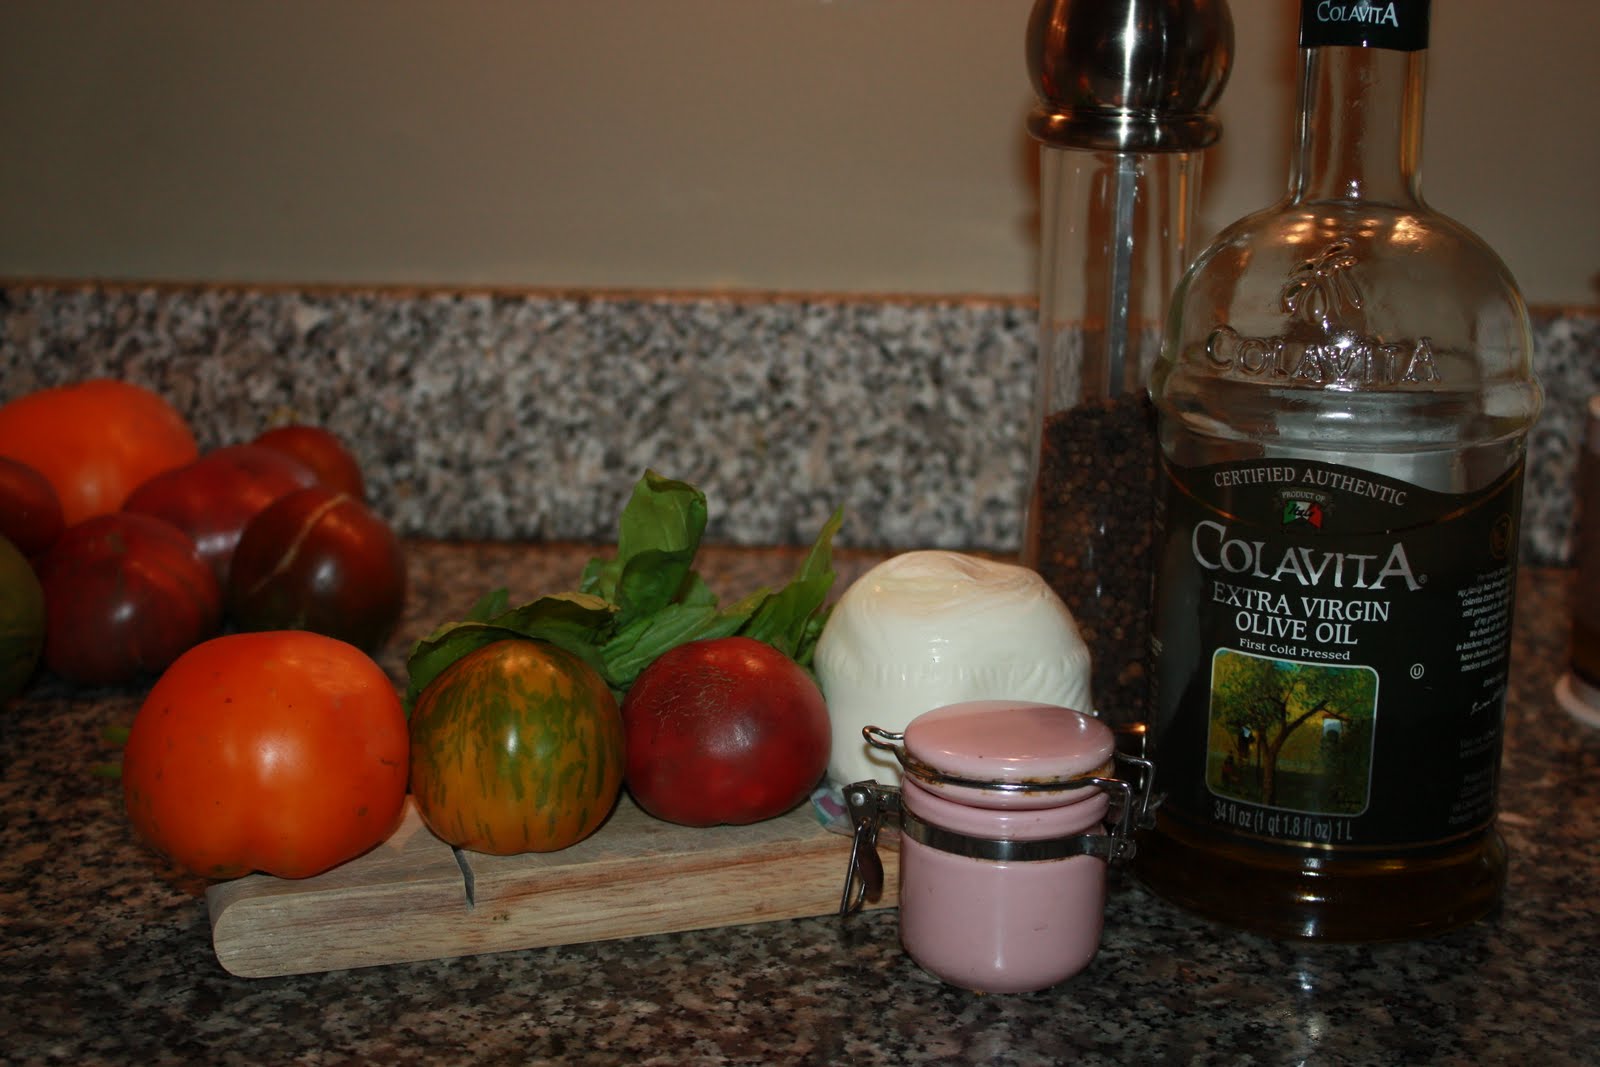
simple, yet elegant ingredients

tomatoes ( we were lucky enough to have 3 colors but any color is fine)
Fresh mozzarella
basil leaves
Extra-virgin olive oil
Kosher salt
fresh cracked pepper

I love to prep all of my ingredients before I build. Just looking at this board makes me ♥smile ♥

assembling is easy.. just alternately layer tomatoes with the cheese.  Lay the basil leaves on top of each other, roll into a 'cigar' then cut small slices.. you will end up with ribbons of basil to sprinkle over the top. Season the towers with kosher salt & cracked pepper.. and drizzle with the olive oil..


Now I have to admit that I attempted to make a 'basil oil' prior to making these stacks.


I added a handful of basil leaves to my blender with about 1/2 cup of olive oil, salt & pepper.


Blend until the oil is green , then strain out basil leaves.

I did not like the color that the oil came out to be. The flavor was wonderful, but I think that the heat from the blades of the blender bruised the basil..

Next time I will try to blanche the basil first. When I made the arugula pesto last month, the blanching helped the pesto keep it's beautiful bright color.


Scott keeps telling me that when I make a mistake ( in the kitchen or otherwise ) that I'm not doing it wrong, I'm simply learning yet another way how NOT to do something.

wise man.

I'm not a chef, I'm not a teacher; I am someone who loves to learn & who enjoys sharing what I know & what learn along the way.

I'm learning every day;)


oxoxo

Thursday, August 5, 2010

Herb marinated pork tenderloin

*discloser*   I cooked this prior to my last post regarding the death of my oven. I still don't have an oven. I probably wont for at least a few weeks, but I will try to share recipes other than those that need my beloved oven...


Here is a great recipe for herb marinated pork tenderloin.

When buying the tenderloin from the grocery store, they often come shrink wrapped ... When I buy them, I try to stay away from the pre-marinated ones. They are injected with a preservative solution ( I don't really want any solution injected into my food, thank you very much).

This also takes the sodium levels out of control. The pork itself lends itself to be a wonderful blank palette to soak up whatever flavors that you choose, and making a marinade is so easy.... trust me :)


Sometimes I can get pork tenderloin from the butcher when it is on sale..I.. like getting it from the butcher because he trims it for me.  My butcher is very nice :) When it is on sale I always buy one for the freezer.

The ones that are shrink-wrapped at the grocery store (without being marinated, RIGHT?) no injectable solutions for us :) usually need to be trimmed a little. It's quite easy to do. Lay the tenderloin on a clean cutting board & slip a knife just under a piece of the fat or silverskin.  Gently guide the knife & pull at the fat, not the pork. The fat should easily pull away..

Ok.. now that we are done covering that, I'd like to mention that in those shrink wrapped un-marinated packages, there are usually 2 tenderloins. Which means for the average family ( not that we are average by any means) you can get 2 meals out of it.

ok.. onto the recipe

 Mix the lemon juice, zest, mustard, salt, pepper & olive oil together in a large zip lock baggie ( preferably freezer bag I'll tell you why in a minute.)

I used 1 lemon for the zest & 1 1/2 lemons for the juice. I must have had juicy lemons :)

Then I piled the herbs & garlic on the cutting board & chopped them all up together

and into the bag


add the tenderloins ( both of them, even if you are only going to cook one) into the bag & massage the marinade into the pork.

zip up the bag , pressing all of the air out & place in the refrigerator. Allow to marinate for at least 3 hours, but not more than 24.


When you are ready to cook the pork, if you are only cooking one, then pull that one from the bag onto a platter about 1/2 hour before you want to cook it. This is important because if you add cold meat to a grill or frying pan , the meat will seize up due to the temperature difference, allowing it to sit at room temperature insures that that won't happen.


 Re-seal the bag  again pressing all of the air out. Label & date it & pop it in your freezer! Presto, you now have a make-ahead easy dinner for another night.  Now you aren't supposed to re-use marinade, but technically you aren't. You will just need to remember on that night in the future that you do decide to cook it that it has already marinated, so just defrost, toss marinade & cook :)


if you are cooking it inside follow the directions on Ina's recipe.  I personally cook my pork to 145 degrees using a meat thermometer. If  you don't have one, you really need to get one, nothing fancy, just your basic meat thermometer.

pork a-restin'


when the pork is done resting, cut it on a diagonal & viola!


This was delicious. and simple. and for a large part, do-ahead. and the best part is? I have another one just waiting for me in my freezer..

But next time I will have to cook it on the grill :)


ciao!


Sunday, August 1, 2010

FIELD TRIP!!!!!

My -in laws took my two teenage children camping this past weekend, (our other child grown & gone)

 Jay, did you ever think that I would ever refer to you as the 'other child?' love & miss both you & Amanda...


 Scott & I decided to visit

Add caption
Sakonnet Vineyards

We arrived early for the tour of how they make the wine, so we participated in a tasting first

sadly, I did not have the fore-thought to actually have OUR picture taken.. but these are some fine folk partaking in some mighty fine wine-tasting.

♬♬♬♬bottles of red...

bottles of white ♬♬♬♬♬♬
the wine tasting was a STEAL... $10 per 'flight' of 6 ( or more if so inclined). You get to choose which wines you would like to sample . The staff was extremely knowledgable and clearly had a passion for their craft.

After our tasting we set out for the tour

white wine

red wine


oak barrels

this is their 35th anniversary poster with labels of their wine.


ALL of the grapes for their wine are grown right there on the property

If you are in the New England area & appreciate wine, this is a place that you NEED to visit. We ( not knowing any better) ate our lunch BEFORE we went ..

:thud:

there is a grill there that does serve picnic style food, but you could ( as we will next time ) pack yourself a picnic & just relax at one of their picnic tables,  on a blanket on the beautiful lawn overlooking the pond or one of their quaint bistro-style tables looking at the actual vineyard.


of course with a bottle of award-winning wine from Sakonnet :)


admittedly, I have been there before, while in culinary school on a real 'field trip'; I had the luxury of actually going into the vineyard to see the vines up close. Going with Scott was wonderful because  he had not been and we were able to purchase wine to bring home with us.

 And he bought me a t-shirt ....

after 21 years of marriage, it's the little things :)


I'm serious... this amazing place deserves a day trip.. you won't be disappointed!


oxoxo